For multimedia designer an online portfolio is a must. The industry expect you to have one. But what if you have found a nice open source theme, but you need a really stunning front page? Or a costum gallery for your productions? Or a kick ass CV?
Step 1) Create a Child Theme
The code presented in this tutorial is based on my tw17child. The child theme is based on the Twenty Seventeen theme. The code is available on Github.
- Install your open source theme via the Dashboard or by uploading a zip file.
- Create a folder with the name of your child theme.
- Then create a new file in the folder. Name the file style.css:
/*
Theme Name:   Twenty Seventeen Child
Theme URI:    http://example.com/twenty-fifteen-child/
Description:  Twenty Seventeen Child Theme
Author:       Per Thykjær Jensen
Author URI:   https://multimusen.dk
Template:     twentyseventeen
Version:      1.0.0
License:      GNU General Public License v2 or later
License URI:  http://www.gnu.org/licenses/gpl-2.0.html
Tags:         one-column, two-columns, right-sidebar, flexible-header, accessibility-ready, custom-colors, custom-header, custom-menu, custom-logo, editor-style, featured-images, footer-widgets, post-formats, rtl-language-support, sticky-post, theme-options, threaded-comments, translation-ready
Text Domain:  tw17child
*/
As soon as the style.css is ready you’ll be able to see the child theme in the Dashboard. But the styles are not loaded. In WordPress styles and scripts are loaded via the enqueue function in functions.php.
- Create a new empty file. Save it as functions.php.
- Add styles by enqueue:
/**
* Styles: both parent and child
*/
function my_theme_enqueue_styles() {
  $parent_style = 'parent-style';

  wp_enqueue_style( $parent_style,
  get_template_directory_uri()
  . '/style.css' );
  wp_enqueue_style( 'child-style',
  get_stylesheet_directory_uri() . '/style.css',
  array( $parent_style ),
  wp_get_theme()->get('Version')
  );
}
add_action( 'wp_enqueue_scripts', 'my_theme_enqueue_styles' );
You can add more scripts and stylesheets to this function if you want to after a similar manner.
That’s it! Your child theme is ready. Now it’s time for your creative tweaks.
Step 2) Create Costum Content
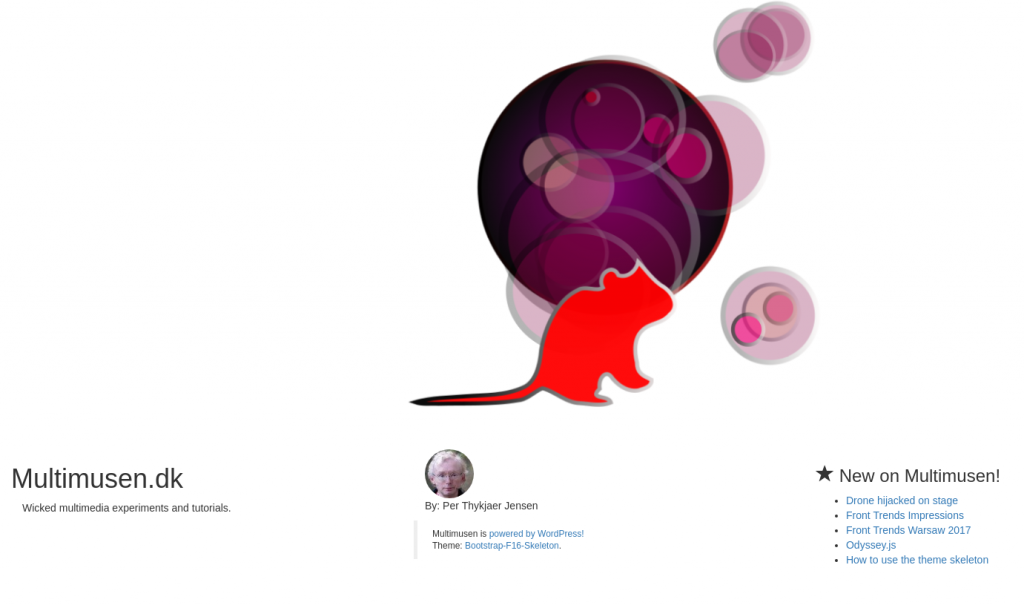
Let’s say that you want a costum frontpage:
- In the child theme create a new file.
- Save the file as front-page.php
Add some content to the page, e.g.
<h1>Hello World</h1>
OK, I admit that this is not the most stunning design, you’ve ever laid your eyes upen. But have a look at your frontpage. It’ll display a “Hello World” as expected. You did not use one line of PHP or WordPress template tags. There’s no loop either.
“What can you deduce from this, Sherlock?”
“The game’s afoot, Watson!”
Actually you can add any code you fancy. You don’t need to follow any restrictions made by the original theme. Now you are able to hardcode a cool splash for your website. If you want to, you can add wp_head() and wp_footer() in the code, e.g.
<?php wp_head(); ?>
</head>
If you do so WordPress will enable the admin bar and add the WordPress head and footer scritpts and styles from the theme.
Step 3) How to name the files
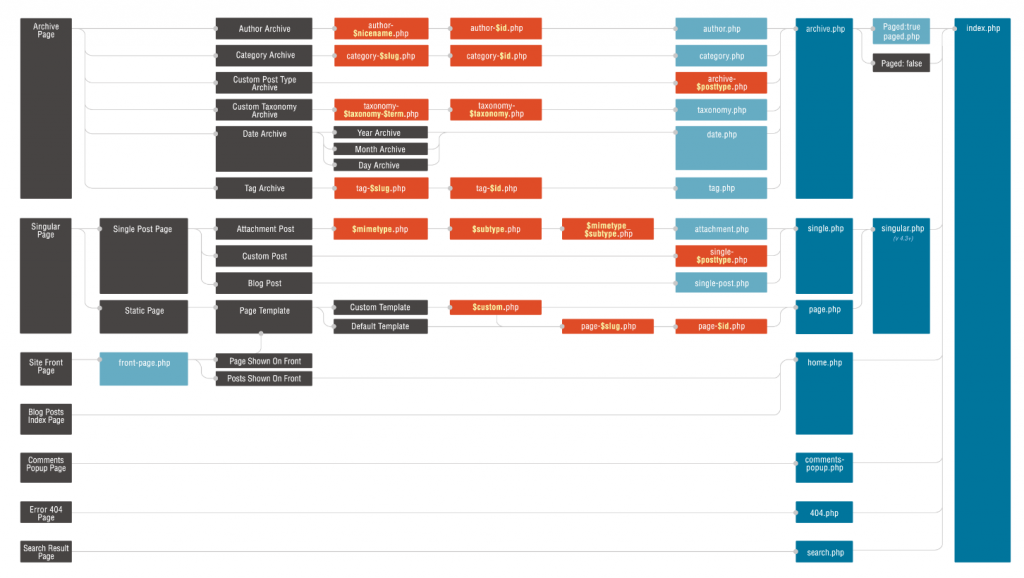
Actually you can modify any page or post after a similar manner. The secret is naming your costum files correctly, and here the template hierarchy diagram is the key we need. In the diagram you can find the front-page.php. Here are a few samples:
- A page for categories: category.php
- Costum design for a category with the slug icecream: category-icecream.php
- A post with the slug whatever: page-whatever.php
If you don’t add a loop to the page, you can only use hardcoded content on your costum pages.
Sometimes that’s exactly what we need.
Now you’re able to create a bunch of very personal costum pages for your content, such as:
- Galleries
- Animations
- CV
- Portfolio pages
- Costum author pages


Leave a Reply