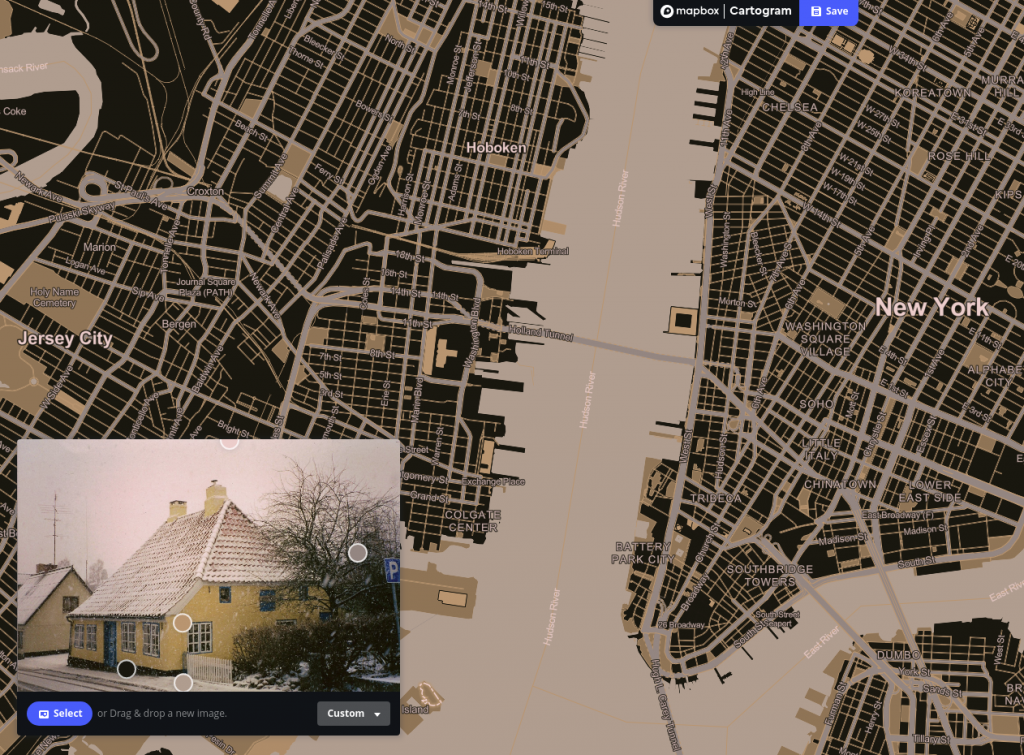
It’s a quick start method for Mapbox. Upload a picture, and select the colors on your map from the picture.
Tutorials for multimedia designers.
Here Open Street Maps is embedded via a simple i-frame – but it’s just a standard map. Not much Leaflet or Mapbox styling is possible when we use the OSM embed options. But at least you may add a marker via the OSM web page. As far as I can see the marker is made via Leaflet somehow.
Since the AUH is a behemoth building complex. But you can use the pointer in order to pinpoint an entrance or building.
Above you see the atomic building blocks of the ER-Diagram:
This ER-Diagram is inspired by some of the tables in his sample database
Here are Ben Forta’s tables in PhpMyAdmin “design viewW.
During implementation you will create the tables and structure.
Note that you have to design the data as integers, numbers, etc.:
The customers table in ER-diagram form.
In the diagram the cardinalities have to be normalized. Here are a few solutions to typical problems.
Look at the attributes. Create an input for each field. Then use the INSERT keyword.
The code presented in this tutorial is based on my tw17child. The child theme is based on the Twenty Seventeen theme. The code is available on Github.
/*
Theme Name:   Twenty Seventeen Child
Theme URI:    http://example.com/twenty-fifteen-child/
Description:  Twenty Seventeen Child Theme
Author:       Per Thykjær Jensen
Author URI:   https://multimusen.dk
Template:     twentyseventeen
Version:      1.0.0
License:      GNU General Public License v2 or later
License URI:  http://www.gnu.org/licenses/gpl-2.0.html
Tags:         one-column, two-columns, right-sidebar, flexible-header, accessibility-ready, custom-colors, custom-header, custom-menu, custom-logo, editor-style, featured-images, footer-widgets, post-formats, rtl-language-support, sticky-post, theme-options, threaded-comments, translation-ready
Text Domain:  tw17child
*/
As soon as the style.css is ready you’ll be able to see the child theme in the Dashboard. But the styles are not loaded. In WordPress styles and scripts are loaded via the enqueue function in functions.php.
/**
* Styles: both parent and child
*/
function my_theme_enqueue_styles() {
  $parent_style = 'parent-style';

  wp_enqueue_style( $parent_style,
  get_template_directory_uri()
  . '/style.css' );
  wp_enqueue_style( 'child-style',
  get_stylesheet_directory_uri() . '/style.css',
  array( $parent_style ),
  wp_get_theme()->get('Version')
  );
}
add_action( 'wp_enqueue_scripts', 'my_theme_enqueue_styles' );
You can add more scripts and stylesheets to this function if you want to after a similar manner.
That’s it! Your child theme is ready. Now it’s time for your creative tweaks.
Let’s say that you want a costum frontpage:
Add some content to the page, e.g.
<h1>Hello World</h1>
OK, I admit that this is not the most stunning design, you’ve ever laid your eyes upen. But have a look at your frontpage. It’ll display a “Hello World” as expected. You did not use one line of PHP or WordPress template tags. There’s no loop either.
“What can you deduce from this, Sherlock?”
“The game’s afoot, Watson!”
Actually you can add any code you fancy. You don’t need to follow any restrictions made by the original theme. Now you are able to hardcode a cool splash for your website. If you want to, you can add wp_head() and wp_footer() in the code, e.g.
<?php wp_head(); ?>
</head>
If you do so WordPress will enable the admin bar and add the WordPress head and footer scritpts and styles from the theme.
Actually you can modify any page or post after a similar manner. The secret is naming your costum files correctly, and here the template hierarchy diagram is the key we need. In the diagram you can find the front-page.php. Here are a few samples:
If you don’t add a loop to the page, you can only use hardcoded content on your costum pages.
Sometimes that’s exactly what we need.
Now you’re able to create a bunch of very personal costum pages for your content, such as:
@FrontTrends, Warsaw 2017.






https://youtu.be/j1rP21RcbH0
https://youtu.be/f0y_xCeM1Rk
The GitKraken app is a GUI for Github. Some people may prefer a GUI solution. The video above will give an impression of the app.
A strong feature on Github is the concept of brances. Here you may experiment with some code. Later on the experiments can be merged with the master code ( origin master ).
Go to Github. If everything is ok the changes should be stored.
When you’re satisfied with the code in the branch, you may want to merge the new work with the stem of the tree. The stem is called ‘origin master’. In GitKraken rightclick on remote / master. A popup menu will let you merge from the branch to the master:
Click on the merge option. Then write a commit message, and click on Push.
On the Github web page you’ll be able to follow all the comitted changes:
Above you see the content of the file, and the history. The image below is the online version of the branches:
( The screencast and screendumps were made on a Ubuntu Linux system. )
Her er koden.
The very short version is: WordPress will return Json objects from certain endpoints. Here’s a sample:
yourWordPressSite.nu/wp-json/wp/v2/posts
A URL like this will return a Json object with the 10 most recent post. Why don’t you try it in your browser:
https://multimusen.dk/wp-json/wp/v2/posts
But what’s the fuzz all about? Well JavaScript can transmute Json to content on a web page. So now you may program your frontend via JavaScript. This is really good news for Nodejs-developers. But in fact you may develop your web page in any language, that’s able to manipulate Json.
REST API is much more that reading content. You can create, read, update and delete content on the server.
With the REST API WordPress will open the gates to a very interesting future. Perhaps themes as we know them will be obsolete in the near future. Even the Dashboard could be something in the past.
Bang the drums, and hoist the flags! WordPress with REST API is here.
Here are some ideas, you might use:
We use cookies - more information
Multimusen.dk will set a few cookies from Doubleclick, Google and the Social Media plugins they ay set some cookies. Some of my pages use APIs - such as YouTube, LinkedIn, Google Fonts, Google Maps, Mapbox, Spotify, Jetpack, Twitter, Facebook &c.. Such plugins may set the odd cookie.